DocsAmbassador Cloud
Automated Configuration Analysis with Ambassador Cloud
Contents
Automated Configuration Analysis with Ambassador Cloud
Edge Stack and Emissary-ingress are managed declaratively. This approach lends itself well to a GitOps workflow. Traditionally, adopting a GitOps workflow requires an extensive amount of engineering. With Ambassador Cloud, you can quickly and easily adopt a GitOps workflow without any custom engineering.
This guide walks you through how to configure Edge Stack or Emissary-ingress with automated configuration analysis, integrating checks into your GitOps pull request workflow. The automated configuration analysis will detect and resolve configuration issues before your changes go live.
1. Connect your cluster to Ambassador Cloud
Log in to Ambassador Cloud with your preferred identity provider.
Click Add Services at the top, then click Connection Instructions in the
Connect your installationsection.Follow the prompts to name the cluster and click Generate a Cloud Token.
Follow the prompts to install or configure either Edge Stack or Emissary-ingress 2.2 or later with a cloud token into your Kubernetes cluster.
If you do not have the latest version installed, you can:
When the installation completes, services, environments and clusters are visible in Ambassador Cloud.
2. Fork the demo repository
Fork the demo repository, then clone your fork into your local workstation. This repository contains a Kubernetes service that you will add to the Service Catalog.
3. Apply the manifests in your cluster and see the service being reported in the service catalog
From the root of your local a8r-gitops-example demo repository clone, apply the Kubernetes manifests to your cluster.
This will create a Deployment, Service, and Mapping in the gitops-demo namespace in your cluster. All resources applied in this guide can be removed by running kubectl delete namespace gitops-demo when you're done with the guide.
4. Configure GitHub integration
Navigate to the Teams Settings page in Ambassador Cloud.
Click the INTEGRATIONS button to navigate to the Integration settings, then click the CONFIGURE GitHub settings button.
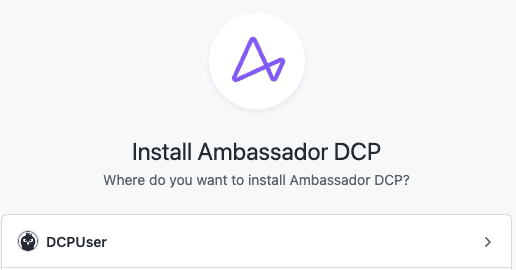
Click MANAGE PERMISSIONS button. You will be taken to github.com and asked to choose which account you want to install Ambassador Cloud.
Select the account which contains the forked
a8r-gitops-exampledemo repository.
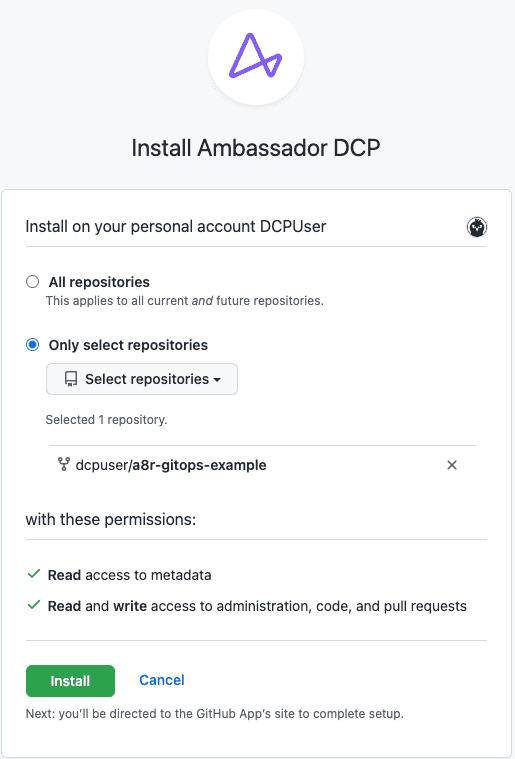
Configure the installation for the demo repository:
After clicking Install, you will be directed back to Ambassador Cloud.
Once back in Ambassador Cloud, click the CONFIGURE GitHub settings button once more and find the
a8r-gitops-exampledemo repository in the list of repositories. Click ENABLE INTEGRATIONS.Configure Ambassador Cloud to access your cluster information and Kubernetes manifests from Git.
For the
manifesttext box, enter the relative path to your Kubernetes manifest files in your repository. For the demo repository, the manifests live in the/manifestsdirectory.Select the cluster you initialized in step 1 from the
clusterdropdown.Click on the UPDATE REPOSITORY SETTINGS button. This will trigger Ambassador Cloud to create a pull request with the information you just entered into your forked demo
a8r-gitops-examplerepository. The pull request will add a file named.a8r.yamlto the root of your repository, and the contents will look something like this:Merge the pull request to the main branch of the
a8r-gitops-examplerepository.
5. Create a Pull Request
Now that your repository is configured to receive feedback from the Ambassador Cloud, let's create a pull request that modifies the Kubernetes resources in the a8r-gitops-example demo repository.
First, navigate to the root of your local a8r-gitops-example demo repository and run git pull to fetch the newly merged .a8r.yaml from your global a8r-gitops-example demo repository.
Then, create a new YAML file named echo-service.yaml in the manifests directory and paste the YAML below:
Commit and push changes to Git:
Navigate to GitHub to create a pull request for your change. Make sure the target repository is in your git fork, not datawire.
6. Review & merge Pull Request
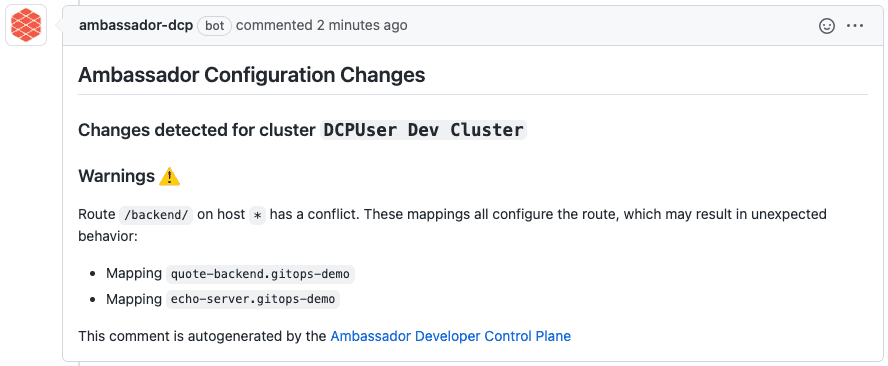
When you create a new pull request that changes your configuration, Ambassador Cloud will be automatically notified. The configuration change that you make is compared to your existing (runtime) configuration change, and the implications of this change are analyzed. Ambassador Cloud will post a comment, analyzing the consequences of merging the pull request into your main branch.
In this example, the automated configuration analysis detects a conflict on the /backend route, as multiple Mappings point to the same route.
In this case, we didn't intend to create a route conflict, so we'll make a change to fix this particular problem.
In manifests/echo-service.yaml, edit the prefix for the echo-service Mapping, so that it doesn't conflict with the quote service:
Commit and push changes:
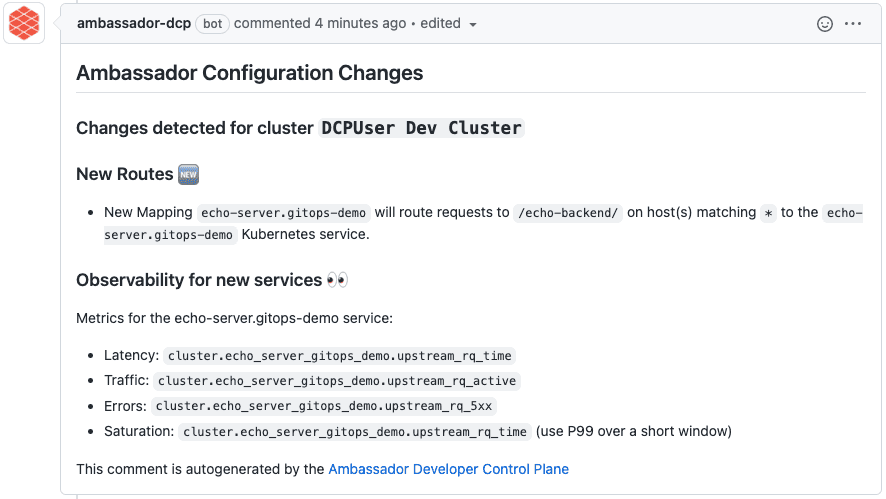
Ambassador Cloud will update the Pull Request comment, noting that the new route is entirely new and does not conflict with other routes!

What's Next?
See the reference for more information on automated configuration analysis with Ambassador Cloud.


